

Growing Dahlias - a primer


Tubers! Not just for potatoes
So you’ve ordered your dahlias and your package of tubers has arrived! Yay! Now what? First thing first - inspect your tubers! Even if it’s not time to plant, yet, open that package up and make sure nothing was damaged in the mail. Each tuber will have an eye, though it may be hard to see (some are nothing more than a tiny bump! But, rest assured, they will plump up and grow when planted properly.) Each tuber will grow 1 plant. If it is not time to plant (see below,) then wrap your inspected tubers back up tightly in their plastic to retain their moisture, and store in a cool (40-55F degrees) location out of sunlight (AND WITH THEIR LABEL!) until planting time.
When to Plant
While May is a generally good time to plant for northern regions according to tradition, planting dahlias is really all about SOIL temperature and soil moisture (not the air!) Spring can be cold and wet in many regions. We highly recommend a soil thermometer. You can buy one cheaply at any garden supply store or Amazon. (we’re not affiliated with Amazon and do not make any money from their links.) Soil temperature should be 60F degrees or above to plant. If you plant your tuber into cooler soil, it will delay the growth of your dahlia exponentially. A tuber planted into 60F+ degree soil will sprout and grow faster than one planted earlier at 55F degrees that warms up to 60F in a couple days - so don’t rush it!
If your soil retains water (you get puddles after rain,) then it does not drain enough. If the soil retains too much moisture, you can rot your tubers before they have a chance to show their magic! No good. In this case, amend your soil to help it drain better. If your soil is too dry, water it well, work that moisture in, and wait until it is evenly moist for planting.
Where to Plant
Dig down into evenly moist, 60+ degree soil about 4-6 inches down. Plant your tubers on their sides (if you can spot the eye, face it up. It won’t hurt anything if you don’t, however.) Cover with soil and label your planting if you don’t want to forget the variety you planted.
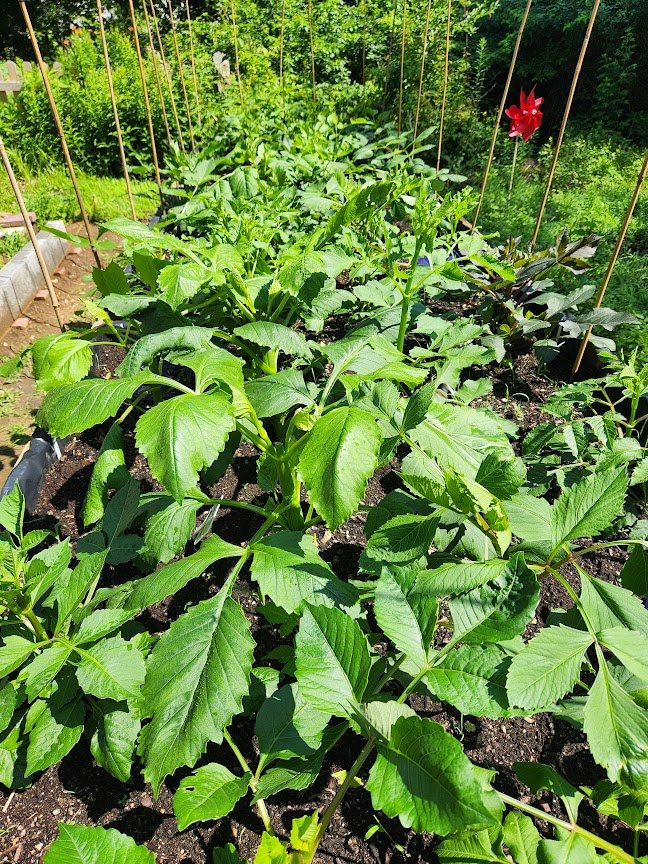
Dahlias need at least half a day of sunlight. Many sources say no less than 6 hours a day. Direct/Full sun is best. If you live in the northern climes, where spring comes late, you might consider planting in raised beds like we do at Fable’s Farm. Raised beds not only let you control the soil exactly to your needs, they also have more surface area to sunlight, which warms soil temps up faster. Here at Fable’s, we’re able to plant weeks earlier than our neighbors who plant in ground!
Watering New Plantings
If you planted into the right conditions - evenly moist soil - then you should NOT WATER your tubers in immediately! You can rot them out with too much moisture at this stage (after all, what will they do it with all since they have no greenery to use it up yet?) A bit of rain is fine, but resist the urge to water UNLESS your soil dries out, then water sparingly. It can take up to a month for a sprout to appear (though our experience is about 2 weeks with ideal soil conditions.) Once it does, start regular soaking waterings once your sprout is 6 inches tall.
Feeding Dahlias
Let us start with this message to all new growers - do not stress over fertilizer too much. We see so many first time growers confused by fertilizer information that some even give up on flowers entirely! You got this, and we got you. Here’s the secret - fertilizing dahlias (or any plant) is down to trial and error. No one’s garden is like yours. We recommend starting low (strength) and slow (release,) and amending as your plants tell you what they want. That’s right - your plants will tell you. If their leaves are yellowing, it means something. If they aren’t producing any buds by August, that’s a message. This is what gardening is about - tuning into your beloved plants and learning along the way!
Though not absolutely needed, we recommend getting soil tests every year. This is usually done through a local university cooperative extension and you can find instructions and more info online. It’s usually an inexpensive test that will tell you all about your soil - from its physical makeup to its nutritional content. The universities will typically recommend what amendments you may want to add to help your flowers thrive based entirely on your unique soil.
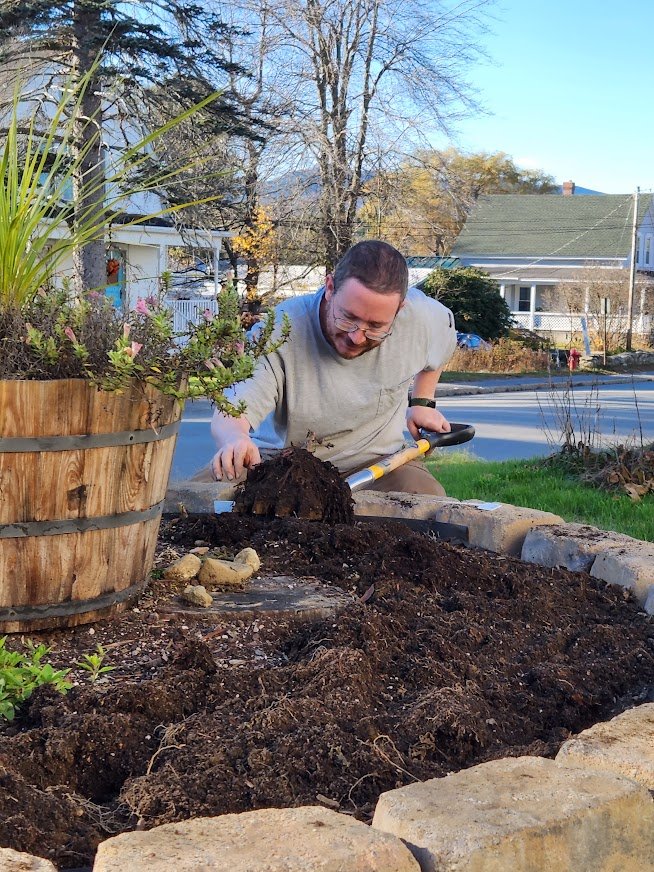
Dahlias like a neutral PH, and a top dressing of organic compost is always a great idea for moisture retention and fertilizer boost. From here, it becomes a gray area of information where you will be forced to make decisions based on your conditions (this is where a soil test shines.) Read up on fertilizers - there are a lot of varied opinions out there from many learned and lifelong dahlia growers who insist their way is the best. It’s all up to you! Espoma’s Flower Tone is a decent fertilizer for safe starts (no risk of burning the young plants.) We like to start with a bit of bone meal during planting time and again some time in July.
Most sources recommend low-nitrogen fertilizers no matter if you’re going organic or not. Nitrogen supports leaf growth and promote the plant to put energy into its leaves and stems instead of flower production. It really depends on your climate that season, as we found out during our extremely wet 2023 season. During that season, constant rain was throttling our plants. Rain leeches nutrients from soil at a rapid rate, so our leaves were wilting, pale, wan. We needed the nitrogen boost that many online resources would say is a no-no. We added 1-2 tablespoons of Bat Guano into the soil of each young plant, and they perked up like nothing was ever wrong. We did this when the plants are still too young to be producing buds, and again in July when we were more concerned with losing plants to the rain than we were about blooms. Despite all the rain and all the nitro-boosts, we got amazing flowers. So, as you can see, there are no hard set rules. Let your plants tell you what they want and feed them low and slow (low amounts in slow release forms like organic fertilizers.)
Horrible, nasty, good for nothing, little pests - - - we’re looking at you, Earwigs!
If you’re an enthusiastic amateur entomologist, like Melanie, then you may find killing bugs difficult as she did. There are many insects and other invertebrates that love dahlias. The most predominant culprits nation-wide seem to be slugs, spider mites, cutworms, aphids, thrips, and earwigs. Check out our blog in near future where Melanie discusses each of these pests for both their bad and their good traits. In the meanwhile, we have 4 methods of dealing with pests on our organic farm:
~Sluggo Plus - this is a granular mix of iron phosphate and a beneficial bacteria that repels slugs and (supposedly) earwigs. While we found it was amazing against slugs, its effectiveness on earwigs was so-so. NOTE: it will produce a white, fuzzy mold after rain or dew - this is completely harmless to your plants and you. It’s just ugly.
*DE (Diatomaceous Earth) - this is the fine powder of fossilized shells of sea creatures. It feels like nothing but talc to us, but to insects, it creates tiny cuts in their exoskeletons and desiccates them until they die. We buy DE that comes with an applicator that looks like an air pump - you load it with powder, then squirt air through it to dust the plants. We make sure to wear a mask and eye protection because the powder is very fine, indeed. NOTES: You’ll often read that this stops working when wet - that is true, however, once it dries again, it works great. We make sure to coat underneath the dahlia leaves for best effectivity. IMPORTANT NOTE: this does not discriminate - it will kill bees, ladybugs, spiders, mantises, moths, butterflies, lacewings - all the good garden helpers as well as the bad. For this reason, really target where you are applying it - avoid flowers, buds, spider webs (because you’re not the type that kills spiders, are you? Of course not! They’re your best gardening helper!)
~Organic Pest Spray - we developed through research, trial and error, a formula that works amazing against earwigs, thrips, aphids, spider mites, slugs - pretty much every pest above the soil line. Again, like DE, this can kill beneficial insects and spiders, too, so be cautious where you spray and avoid flowers, buds. Here is our recipe:
In a 2 gallon sprayer (they’re about $20-30 on amazon.) Mix 1Tb rosemary oil (great against spider mites!), 1TB Peppermint oil, 2-3 TB Neem Oil, and 2 TB ordinary dish soap - any works fine. Shake it up to blend well inside sprayer, then spray dahlia stems and leaves until well saturated (dripping is a good indicator.)
Caution: essential oils can be dangerous in full concentration - use at your own risk. If you have dogs, do not let them near the peppermint oil spray as it can harm them.
*Hand picking - you can’t beat just plucking a pest and dropping them into alcohol or hot soapy water. This method is really the only thing that works against cutworms. If you suddenly find a dahlia cut at the stem near the soil, dig around near the stem and you’ll find a purple/brown caterpillar-like grub. This is a cutworm. Hand picking is useful for earwigs and slugs as well.
Plant Maintenance
Now you have lovely plants coming up, and you’re watching your plants needs while battling pests - great job! Let’s start planning ahead for large flower stems and copious blooms by adding stakes and pinching your plants. Bamboo, rebar, commercial garden stakes - they all work fine. We insert ours deep and securely into the ground around the perimeter of our beds, then tie twine at 2 foot height intervals to support the growing plants. Dahlias can get quite large and quite tippy! So make sure your supports rise at least 4 feet above the ground and can support some decent plant weight if a dahlia tips.
Pinching is just another word for cutting (or if you have long nails, severing a young bit of plant with your fingers.) Your dahlia will grow with one center stalk. If you let it go without pinching it, that’s how it would remain, But, if after it reaches a certain height, you cut the center stalk off, it will branch out to create more stalks. More stalks = more flowers! (Bonus, if you plan it right, you can dip that cutting into rooting hormone and plant it to get a second plant!) We recommend going on a plant-by-plant basis. Large farms literally drive a machine over the dahlias at a certain high and cut them all indiscriminately, but depending on the variety and your cultivation, some plants will grow faster than others.
Each plant will grow a set of leaves (1 leaf to each side of the stem is a matched set.) We wait until we have 4-6 of these sets before we pinch off the top. This is generally when the plant is about 10-12 inches tall. But listen to your plants! We had a Penhill Watermelon that grew over 24 inches tall before it had 4 leaf sets. Why wait until at least 4 leaves? The plants need those leaves to help energize new growth.
From here, you will start to see buds anywhere from mid July to early august depending on your location. Pinch off all but 1 center bud from each stem to grow taller, larger flowers.
Regular (not tuber planting time) Watering
Dahlias are water lovers. Even the constant rains of 2023 didn’t kill ours! Once your dahlias have sprouted, deep watering through summer 2-3 times a week is usually called for. You’ll know by the feel of the soil - dry is never good. They like even moisture and lots of it. For how to water your freshly planted tuber, see section above.
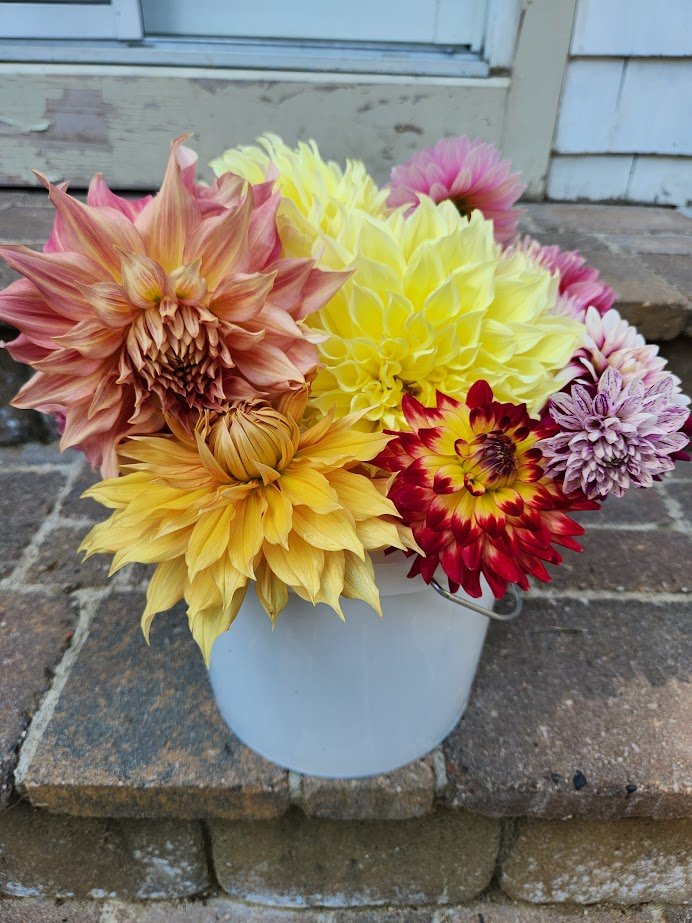
Cut Cut Cut!
Dahlias are called a “Cut and Come Again” flower. Meaning, the more you cut, the more flowers you will get! We know, they look amazing on your plants - especially when you’ve waited for months and finally get your first bloom. Want to leave it? Cool. Do it! It’s your plant! However, if you cut flowers, you’ll induce the plant to create more stems and more buds. Whether you cut or not, be sure to cut any passed/spent flowers because a spent flower is the plant producing seeds, and this will take lots of energy - meaning your plant may slow or stop flower production.
End of Season
Many people treat their dahlias like annuals, and they let the year’s tubers die in ground in the winter and buy new ones the following year.
If you live in a region with mild or warm winters, you can leave your tubers where they are in you wish - a pile of leaves over the soil will help insulate if you worry about a freak freeze. They should grow again the next season. Eventually, you’ll need to dig them up (usually 3-5 years later) to divide them. You’ll know when to divide if your blooms become less and less each year.
If you live in a area where your winters are frozen or muddy/flooded, and you want to keep your dahlia for next year, you’ll need to dig up your tubers. In case of freezing locations, wait until after the first killing frost (your plant and its flowers will literally freeze, turn brown and black and may fall over.) This frost will kill your plant, but not your tubers! Dig your tubers up carefully using a pitchfork or bare hands so as not to harm the tubers. Wash them of soil, dry and store in plastic bucket or shoebox of vermiculite or peatmoss a 40-50F location out of sunlight and with a relatively high humidity (50-80%) until next year. Check throughout the winter to make sure the tuber isn’t drying out or molding over. Don’t worry if your conditions aren’t perfect - just do your best to meet the requirements and do not freeze your tubers. We once stored our tubers in a dark 60 degree basement with no issues with early growth.